On this page
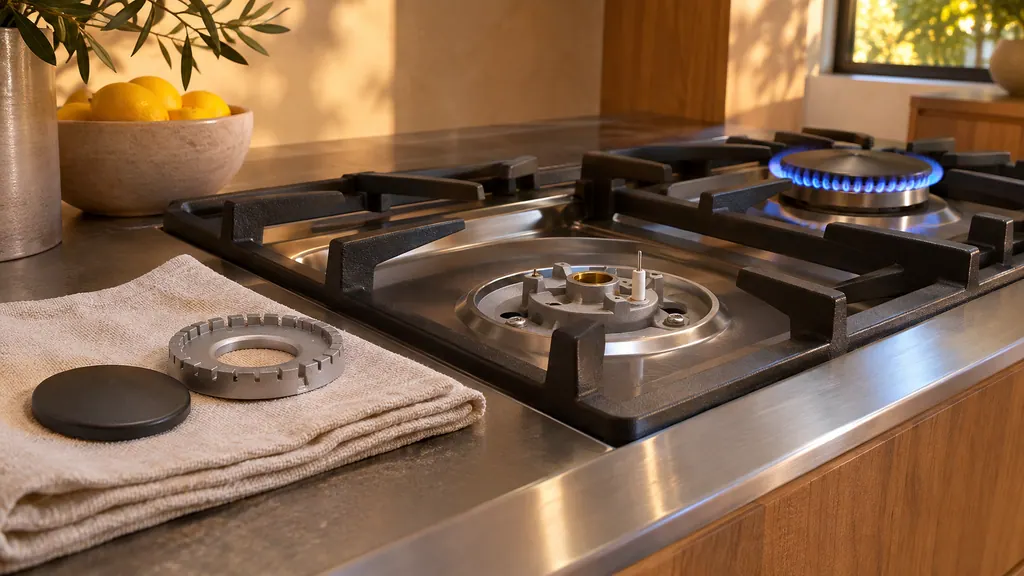
- Burner caps, rings and heads are not dishwasher-safe: hot soapy water and a sponge or plastic pad. 1
- A pin clears clogged holes in a burner head; make sure all ports are open. 1
- Wipe the electrode tip and ceramic stem dry; no water, and never touch it while a burner is on. 1
- A normal flame is steady and blue; test the burner after every reassembly. 1
- On a gas smell, get everyone out and phone the supplier from a neighbor's home. 1
How do I clean Dacor burner caps and heads?#
Hand-wash them with hot, soapy water and a sponge or plastic scouring pad. The Pro Range manual says burner parts are not dishwasher-safe, and that steel wool and scouring powders are out. Use a pin to clear holes in the burner heads if needed. 1
Make sure every port is open before you put things back. The manual says the caps can be brass or porcelain. Brass discolors with use, which does not affect performance. 1 To lift burned-on residue from brass, soak the caps in 1 cup of water with 1 tablespoon of white vinegar or lemon juice, and do not use a metallic brush or scouring pad. 1
| Part | How the manual says to clean it | Source |
|---|---|---|
| Caps, rings and heads | Hot soapy water, sponge or plastic pad; no dishwasher | 1 |
| Burner ports | Unclog with a pin | 1 |
| Burner bases | Damp cloth, dry fully; they are not removable; keep water out of bases and orifices | 1 |
| Grates | Hot soapy water, rinse and dry; no dishwasher; burners off and cool first | 1 |
| Griddle | Sponge or plastic pad, hot soapy water, rinse and dry; no dishwasher | 1 |
| Electrodes | Dry soft cloth on tip and ceramic stem; no water | 1 |
How do I care for the electrode and the burner base?#
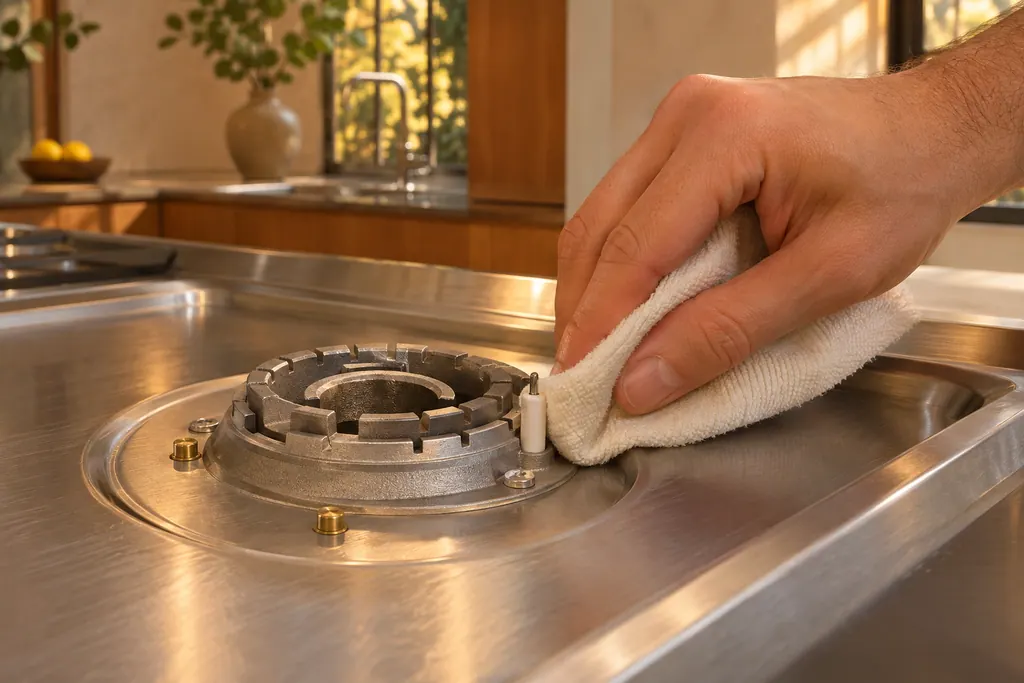
Wipe the electrode's metal tip and ceramic stem with a dry, soft cloth, and keep water away from them. Never turn on a burner while touching its electrode, and do not try to remove it. 1
The burner base is not removable. Wipe it gently using a slightly wet cloth and let it dry completely before use, and do not let water into the bases or the brass orifices. 1 A dry electrode is also the first fix the manual gives when a burner does not light. 1
How do I put a burner back together?#
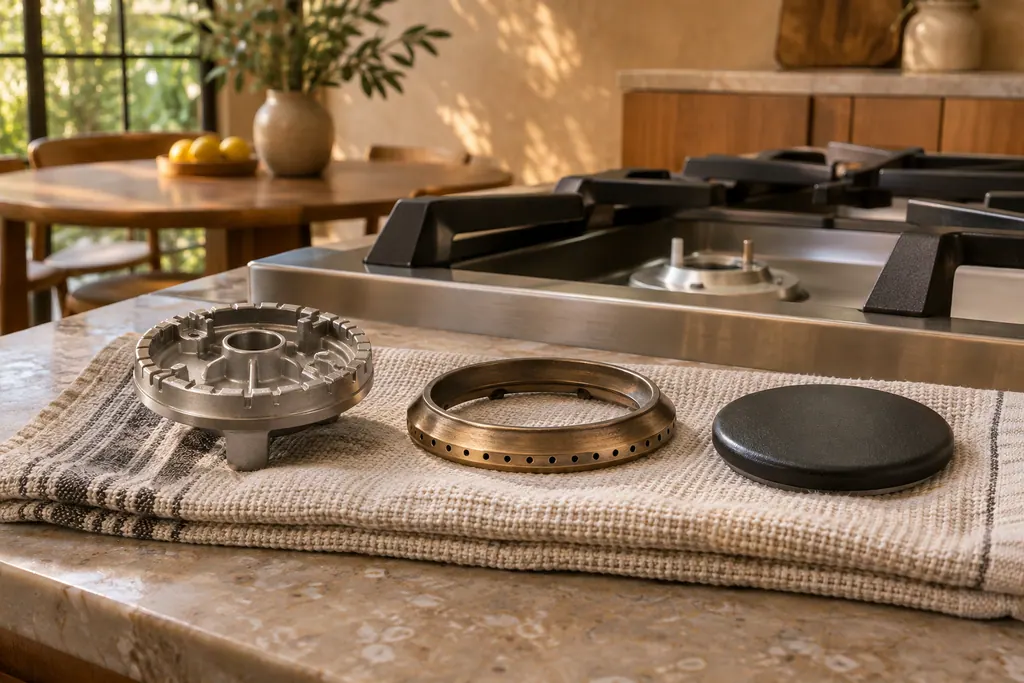
For a standard burner, seat the ring so its base fits within the ridge around the burner head, rotate until it drops into place, and set the cap so the ridge underneath fits over the ring's edge. A SimmerSear burner adds a locating tab and slots. 1
After assembly always test the burners, because improperly assembled parts cause faulty ignition and uneven flames. 1
- 1
- 2
- 3
- 4
- 5
How do I light a burner, and what is a normal flame?#
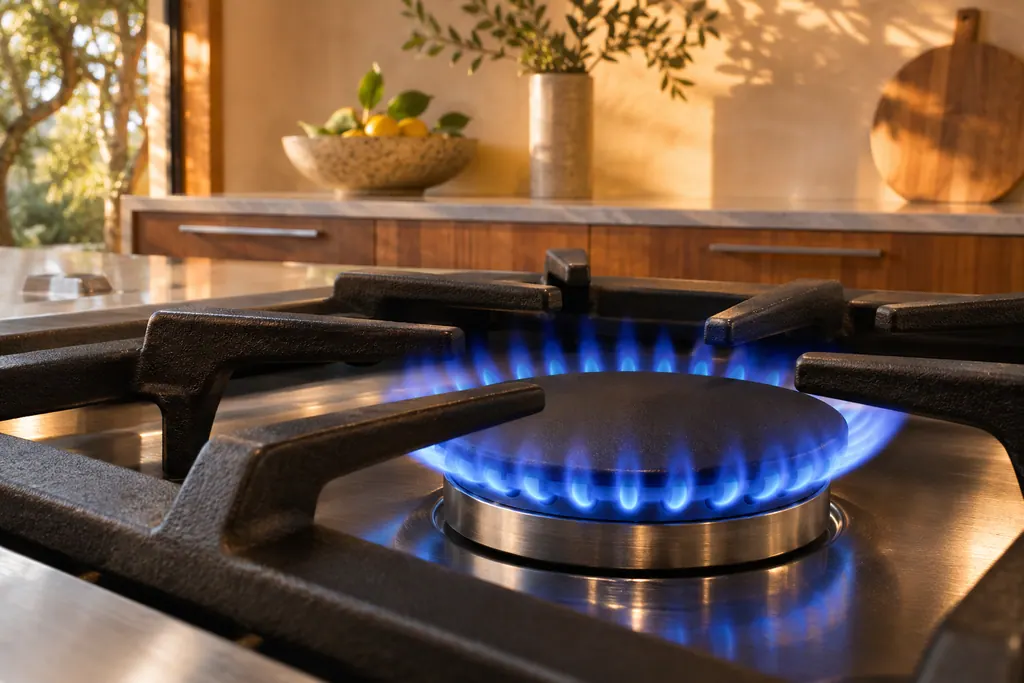
Push the knob in and turn it counterclockwise to the igniter symbol. The knob lights up and the igniter sparks for about 4 seconds until the burner ignites. A normal flame is steady and blue and burns evenly except beneath each grate support finger. 1
A shorter flame below each grate support finger is by design, because the Smart Flame feature reduces flame height there, so a short patch under a finger does not mean the burner is dirty. The grates are identical and can go in the left, center or right position, always with the short side toward the front and rear. 1 Foreign matter in the gas line, especially in a new line, may cause an orange flame that disappears with use, and yellow-tipped flames are normal with LP gas. 1 If the flame is excessively yellow, shut off the burner, let it cool, adjust the caps and light it again; a good flame is blue and consistent. 1
What if a burner stays dark or goes out?#
If it does not ignite within 4 seconds, or the flame goes out, turn off the burner immediately, air out the kitchen for 5 minutes and retry. If there is still no flame, or the igniter keeps sparking, go to the troubleshooting rows. 1
The troubleshooting table lists, for a burner that does not light: a control knob that is not pushed in and turned to Lite, burner caps not in place or a base misaligned, and electrodes to clean. 1 For no burners at all, it lists an unplugged cooktop, a blown fuse or tripped breaker, and gas that is off or improperly connected. 1
What does a clicking burner or an odd flame mean?#
Clicking during operation means the knob is still set on ignite: once the burner lights, turn the knob to the setting you want. If it still clicks, contact a service technician. Uneven flames come from an improperly assembled or dirty burner. 1
Very large or yellow flames are a different row. The manual's cause is a wrong burner orifice installed, and its answer is to check the orifice size and to contact the installer if the wrong orifice (LP gas or natural gas, or the reverse) is fitted. 1 That is not a cleaning job.
How do I care for the grates and the griddle?#
Wash the grates regularly and after spillovers, with the burners off and everything cool. Scrub with hot, soapy water, rinse, dry fully, and keep them out of the dishwasher. 1 The griddle gets the same treatment, with a sponge or plastic pad only. 1
Never turn the griddle burners higher than MAX GRIDDLE, because higher settings may damage the griddle. 1 Replace the grates with their feet in the dimples of the spill tray. 1
Which settings and cookware does the manual mention?#
Each knob has a small diagram showing the burner it lights, and the settings are Off, Igniter, MAX GRIDDLE and SIMMER. SIMMER is the very low setting: the left-front burner on a 30-inch range, and the left and right front burners on a 36 or 48-inch range. 1
For cookware, the manual asks for flat, smooth bottoms and snug lids, and for glass, ceramic or cast iron it suggests a low or medium flame that covers about a third of the pan's diameter. 1 A flame that wraps up the side of a pan is a waste, and the manual says a gentle boil cooks as fast as a vigorous one. 1
What changes after a new install or a move?#
Check the supply before the burners. The troubleshooting table lists gas that is off or improperly connected as a reason none of the burners light, and points to the installation instructions. 1 If the flames are very large or yellow on a new range, the wrong burner orifice is the manual's cause. 1
Neither is a job for the owner. Gas fitting and orifice changes belong to the installer or a qualified technician, and a gas smell comes first, before any check in this guide. 1
What should I note before booking a visit?#
Write down which burner is affected, the flame color, whether the igniter clicks and whether the other burners work. Say what you cleaned, whether the cap and base were seated, and the type of gas if you know it. Mention the model, such as an HDPR30, HDPR36 or HDPR48.
- Which burner, and does it light after cleaning?
- Does it click once lit, or only before?
- Is the flame blue, yellow or uneven?
- Did the range recently change fuel, or get moved?
Our range service page explains how a visit works, and the surface burner entry describes the part itself.
Sources#
- User Manual, Pro-Range HDPR30*, HDPR36*, HDPR48*Dacor (Dacor-branded document hosted on image-us.samsung.com) · Part No. 115332 Rev B · PDF p.17 (Assembling the Burners), p.19 (Before Using the Cooktop, Lighting a Burner), p.34 (Maintaining the Cooktop), p.40 (Troubleshooting: Gas Safety, Surface Burners)